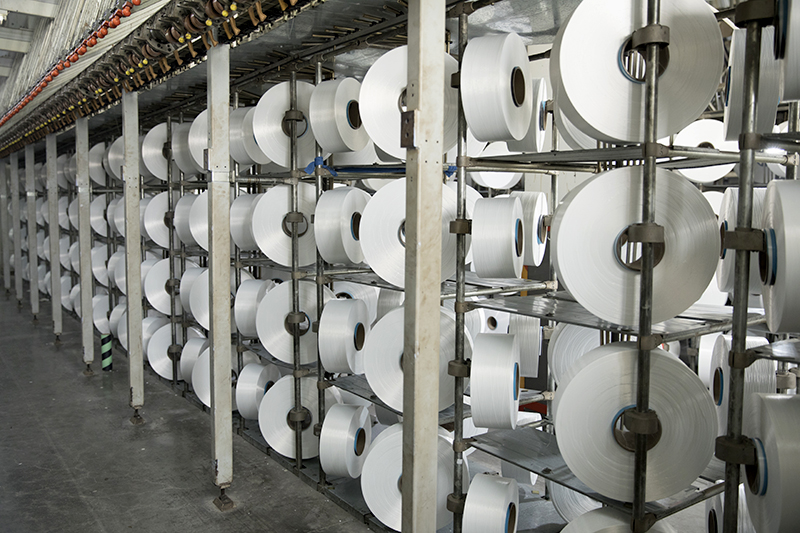
300D/96F OPTICAL WHITE NIM Polyester Yarn Name: 300D/96F OPTICAL WHITE NIM Polye...
See Details1. Roller configuration
In order to ensure the quality of the spinning frame, if there is no special requirement, the front rollers are equipped with "Jw" new generation ultra-high precision non-mechanical rollers, and white (left) and yellow (right) plastic caps are screwed on the outer threads of the roller. Ordinary middle and rear rollers are screwed with red (left thread) and blue (right thread) plastic caps on the external threads. The product logo is engraved in the recess of the roller, please distinguish carefully when using.
2. Cleaning
(1) Use cotton yarn or soft gauze to wipe the anti-rust oil layer on the surface of the roller basically.
(2) Pour gasoline into the oil basin (the length of the oil basin should be greater than the length of the roller), put the rollers into the oil basin, and do not stack the rollers together during cleaning to avoid collisions with each other and damage the rollers The surface and external threads will affect the quality of spinning. At the same time, please handle with care when cleaning to prevent the end surface of the guide hole and external threads on the roller surface from bumping and affecting use. First, clean the new ultra-high precision non-mechanical front rollers with white and yellow caps engraved with the "I" mark, and then clean the middle and rear rollers. When cleaning, unscrew the plastic cap , use a brush and gasoline to clean the guide holes, guide rods, and internal threads of the roller with anti-rust oil and wipe them clean.
3. Installation
(1) The front rollers of the warp and weft have high single-piece manufacturing accuracy. The rollers should be directly placed on the calibrated roller seat when installing on the Machine, and each one should be manually butted. At the same time, pay attention to the centering of the inner ring of the roller bearing and the outer ring. If there is a deviation of the inner ring of the roller bearing, the roller shim can be used to compensate. After all the rollers are manually butted and tightened, press down a cradle every 3 knots, and use the special roller setting tool XG15 to tighten all the front rollers with head and tail clamping and tightening methods. There is no need to adjust under the car. So as not to adjust the bending roller guide rod and affect the connection and quality of the roller. After the front roller gets on the car, if there is a knockout at the bearing of the individual roller seat and the jump of the roller connection is greater than 0.03mm, you can use the method of slightly knocking the front and rear positions of the roller seat and pad paper to solve the problem. It is not to adjust the roller to avoid the entire row of rollers. The school becomes a small wave and affects normal use.

(2) The middle and rear rollers are butt-connected every 3 sections under the Machine and tightly formed into one section. When connecting, add a little lubricating oil to the guide post, guide hole and internal thread, correct the two ends of the roller bearing, and then align the head and tail. The end part is calibrated. When the Machine is on the Machine, the rollers are mounted on the special tool cart in sections and tied with a soft rope. When they are on the Machine, they are steadily placed on the middle and rear roller seats, and the joints of each roller are inlaid with rollers. Remove the device tightly. Roller inserts should be used in pairs, clamped on the groove or knurled diameter of the roller. Finally, use a dial indicator to measure the bend at each joint of the middle and rear rollers and use a special roller straightener for straightening.
(3) If the three rows of rollers are not centered during the installation of long cars with more than 600 spindles, they can be adjusted with compensation gaskets. After the rollers are installed, use cotton to moisten a small amount of gasoline to clean the surface again, and put the oil nozzles on each roller bearing before driving. Use FU series high pressure grease gun to add 3♯ lithium-based lubricating oil. According to the requirements of spinning frame start-up, spinning can be carried out after empty car running.
4. Maintenance
After the spinning frame has been operating for 15-30 days, the front roller shall be re-examined and re-calibrated with a dial indicator and a roller straightener to ensure that the entire row of rollers has a connection runout of less than 0.03mm; the spinning frame shall be flattened every 6 months Re-inspection and re-calibration shall still be carried out in accordance with the above methods when the vehicle is in use. The daily refueling cycle of roller bearings is half a month, and the refueling cycle should be extended or shortened depending on the deterioration of the lubricating oil in the bearing and the amount of fly accumulated in the inner rings at both ends. Refueling should be combined with wiping the car (refueling with an oil gun when running): When new oil is squeezed in, the dirty oil in the bearing and the flying particles stored in the bearing are squeezed out, and the oil overflowing at both ends of the bearing and its oil splashes It must be wiped off with a clean wipe before spinning.